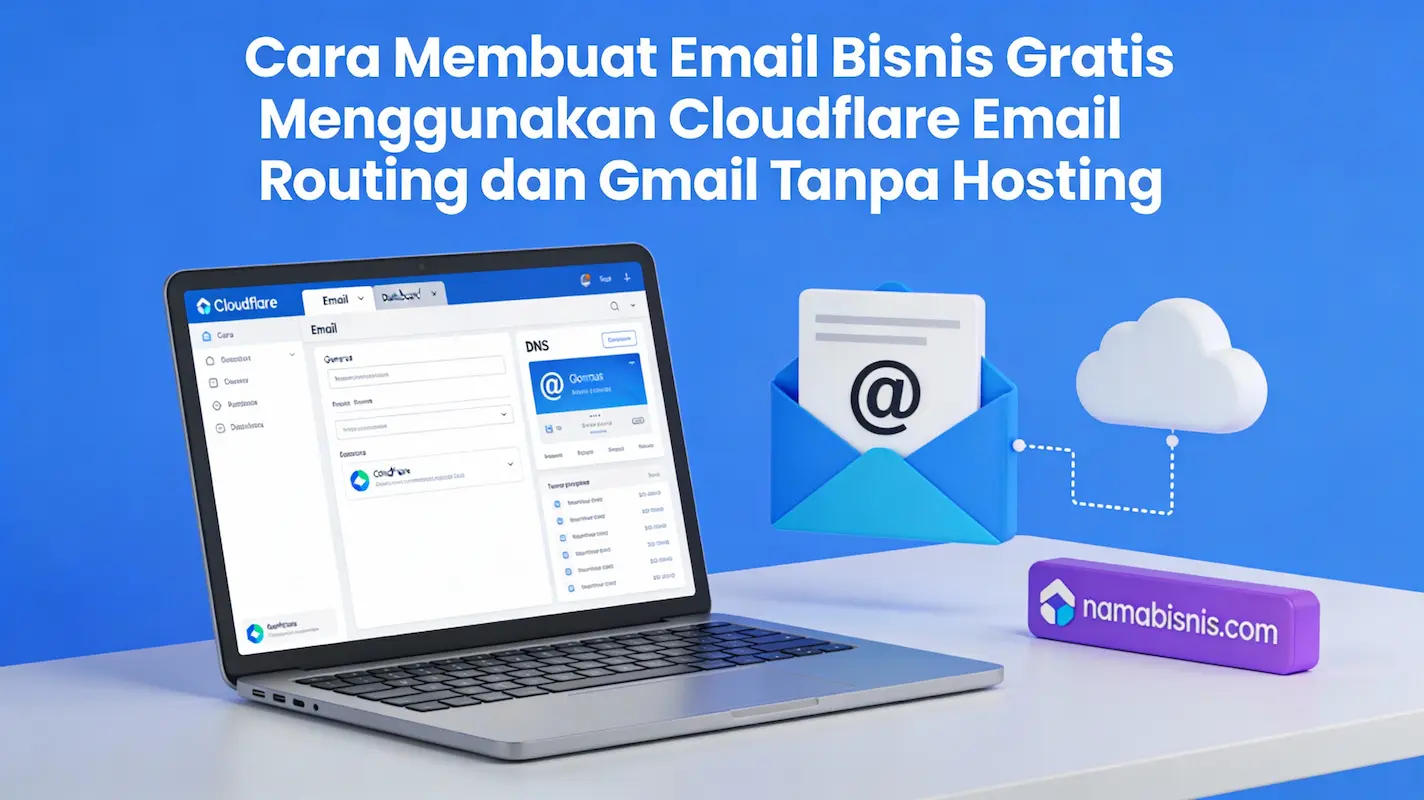
How to Create a Free Business Email Using Cloudflare and Gmail (Without Hosting)
Having an email address with your own domain (such as admin@yourbrand.com or support@yourbusiness.id) looks far more professional and credible compared to using free email services like @gmail.com.
Usually, to have this kind of business email, you need to rent an email hosting service, which can be quite costly on a monthly basis. However, did you know there is a way to get it for FREE?
In this guide, we will cover a cost‑effective method using Cloudflare Email Routing connected to your personal Gmail account. You only need to buy a domain (around Rp10,000 – Rp150,000 per year), with no monthly subscription fees.
What You Need
Before starting, make sure you have prepared these three things:
- Active domain: You can buy a domain from local providers (such as Domainesia, Niagahoster, etc.). Affordable extensions like
.my.idor.web.idare more than enough. - Cloudflare account: Sign up for free at cloudflare.com.
- Gmail account: You can use an existing or new Gmail account as the inbox for your emails.
Step 1: Connect Your Domain to Cloudflare
For the Email Routing feature to work, your domain’s DNS management must be moved to Cloudflare.
- Log in to the Cloudflare dashboard.
- Click “Add a Site” and enter the domain name you just bought.
- Select the Free Plan (the lowest free tier), then click Continue.
- Cloudflare will scan your DNS records. Ignore this and click Continue.
- Cloudflare will provide 2 new nameservers (NS). Copy both NS values.
- Open the member/panel area where you bought the domain. Find the Nameserver menu, then replace the default nameservers with the nameservers from Cloudflare.
- Go back to Cloudflare and click “Check nameservers”. Wait until the domain status becomes Active (usually 15 minutes – 1 hour).
Step 2: Enable Cloudflare Email Routing
This step makes emails sent to your business domain get forwarded to your Gmail inbox.
- In the Cloudflare dashboard for your domain, go to Email > Email Routing.
- Click “Get Started”.
- Fill in the following configuration:
- Custom address: Enter the address you want (e.g.
admin,info, orhello). - Destination address: Enter your real Gmail address (e.g.
yourname@gmail.com).
- Custom address: Enter the address you want (e.g.
- Click Create and Continue.
- Check your Gmail inbox. Cloudflare will send a verification email. Click Verify email address.
- Go back to Cloudflare and make sure the status is Verified.
- Cloudflare will ask for permission to add DNS records (MX and TXT). Click “Add records and enable”.
- Make sure the final status is Routing Enabled.
Important: At this point, if someone sends an email to
admin@yourdomain.com, it will already arrive in your Gmail inbox. However, you still cannot reply using that domain name. Continue to the next step.
Step 3: Configure Gmail to Send Email (SMTP)
To send/reply to emails “as if” they are from your business domain (not from @gmail.com), you need to set up Google’s SMTP.
A. Create an App Password
For security reasons, Google does not allow using your normal login password for third‑party apps.
- Open Google Account.
- Go to the Security menu.
- Make sure 2‑Step Verification is turned ON.
- Find the App Passwords menu.
- Create a new app password, for example named “Business Email”.
- Google will give a 16‑digit code. Copy and save this code.
B. Set up "Send Mail As" in Gmail
- Open Gmail in a desktop browser.
- Click the Gear (Settings) icon > See all settings.
- Go to the Accounts and Import tab.
- In the “Send mail as” section, click Add another email address.
- In the pop‑up window, fill in:
- Name: Your business name or professional name.
- Email address: Your business email (e.g.
admin@yourdomain.com). - Check “Treat as an alias”.
- Click Next Step.
- Enter the SMTP settings (Important!):
- SMTP Server:
smtp.gmail.com(change the default to this). - Username: Your original Gmail address (e.g.
yourname@gmail.com). - Password: Paste the 16‑digit App Password you copied earlier.
- Port: 587.
- Select Secured connection using TLS.
- SMTP Server:
- Click Add Account.
- Check your Gmail inbox; you will receive a verification code from Google. Enter that code into the pop‑up window.
Step 4: Test Everything
Now the setup is complete. Let’s make sure everything works properly.
- Send test: Compose a new email in Gmail. In the “From” field, choose your business email. Send it to another email address and check whether the sender now shows your custom domain.
- Receive test: Reply to that email. Make sure the reply goes back into your main Gmail inbox.
Conclusion
Congratulations! You now have a professional business email infrastructure without paying expensive monthly subscription fees. This method is perfect for freelancers, small business owners (UMKM), or startups that want to keep operational costs low while still looking credible.